-40%
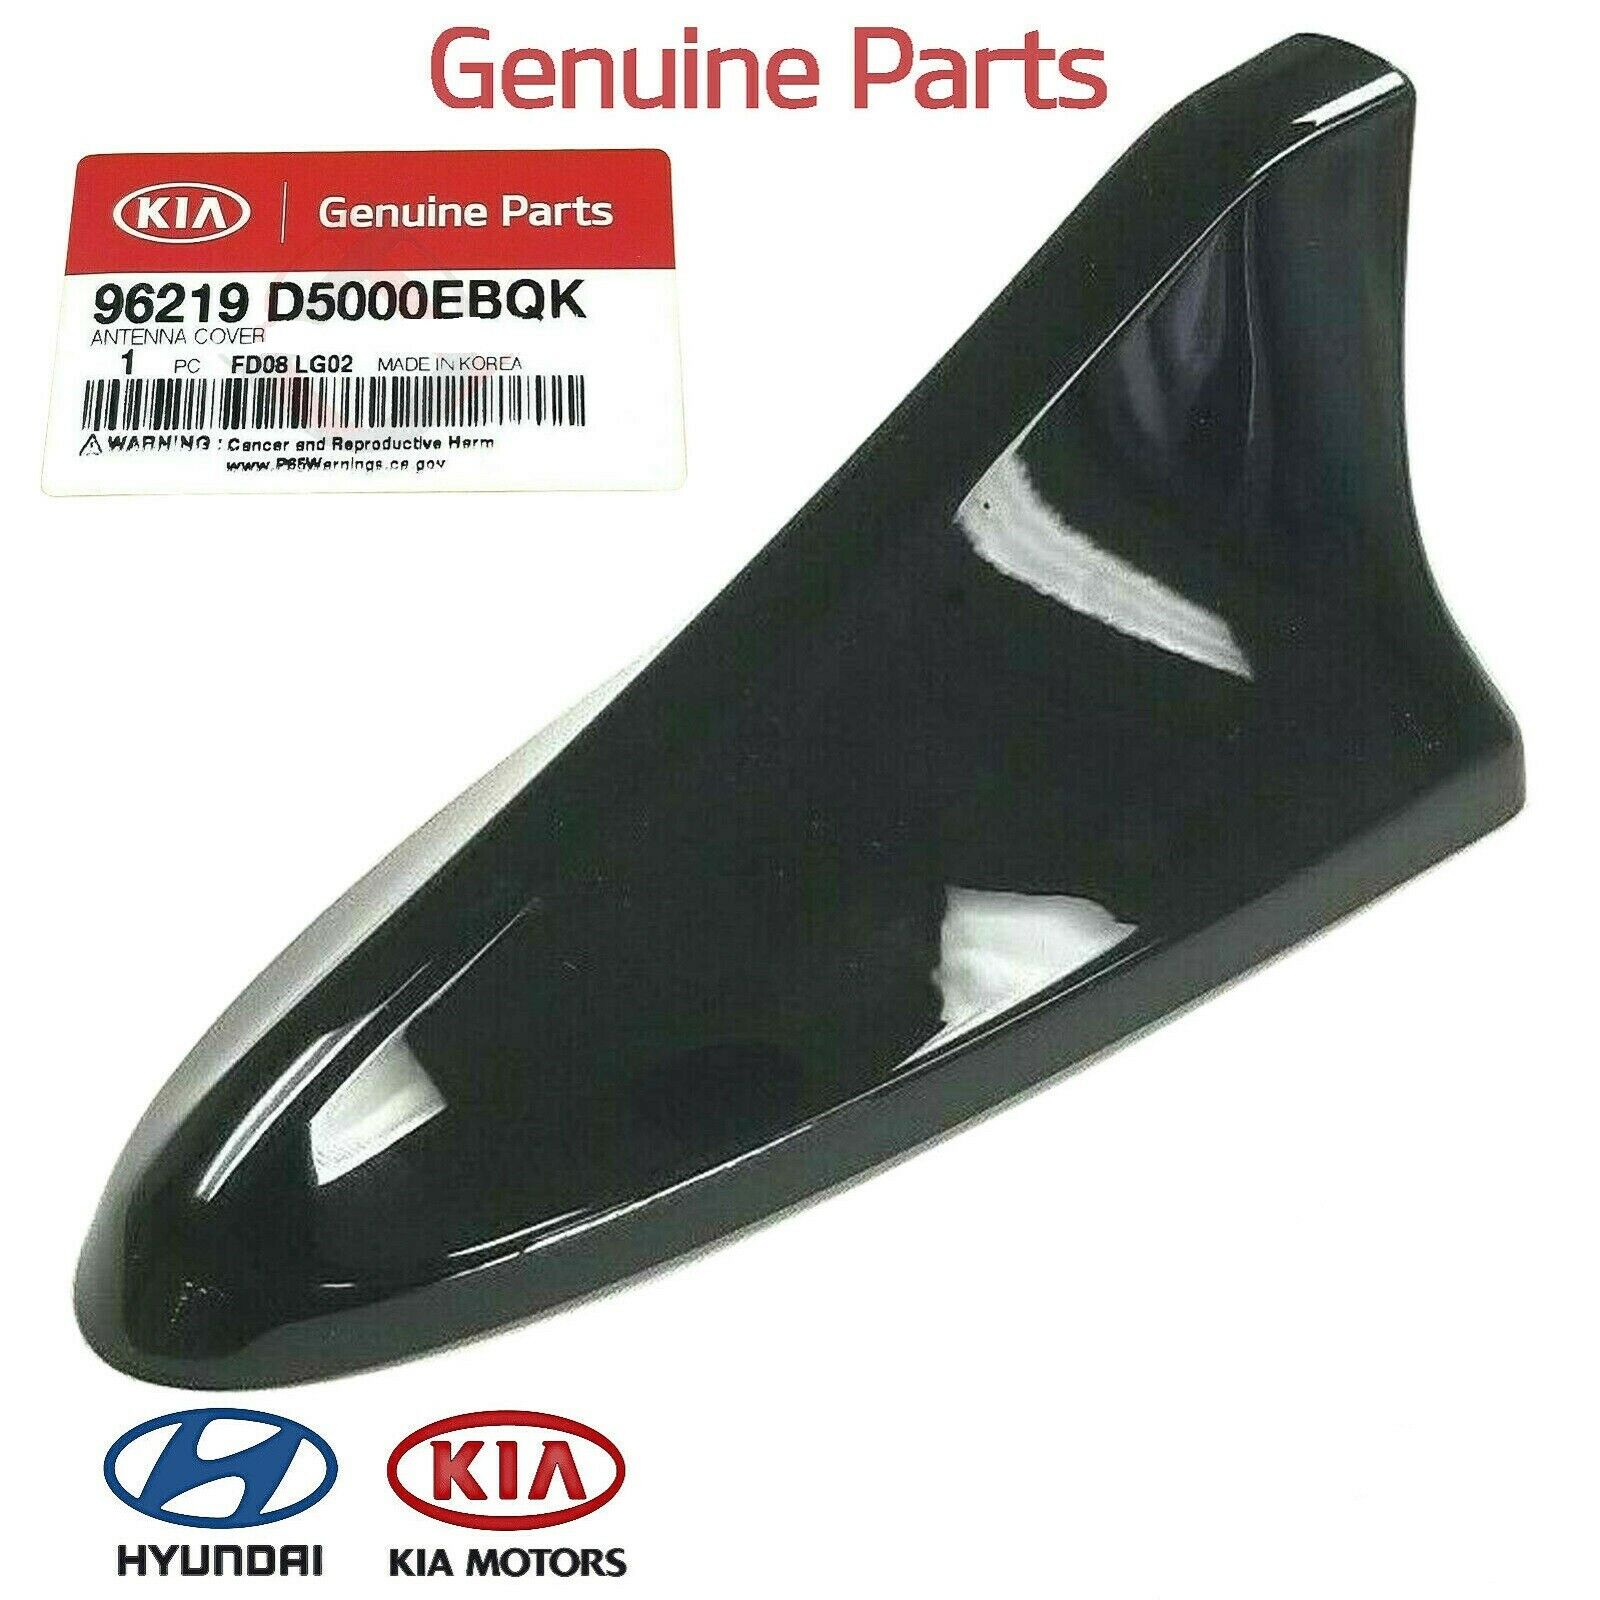
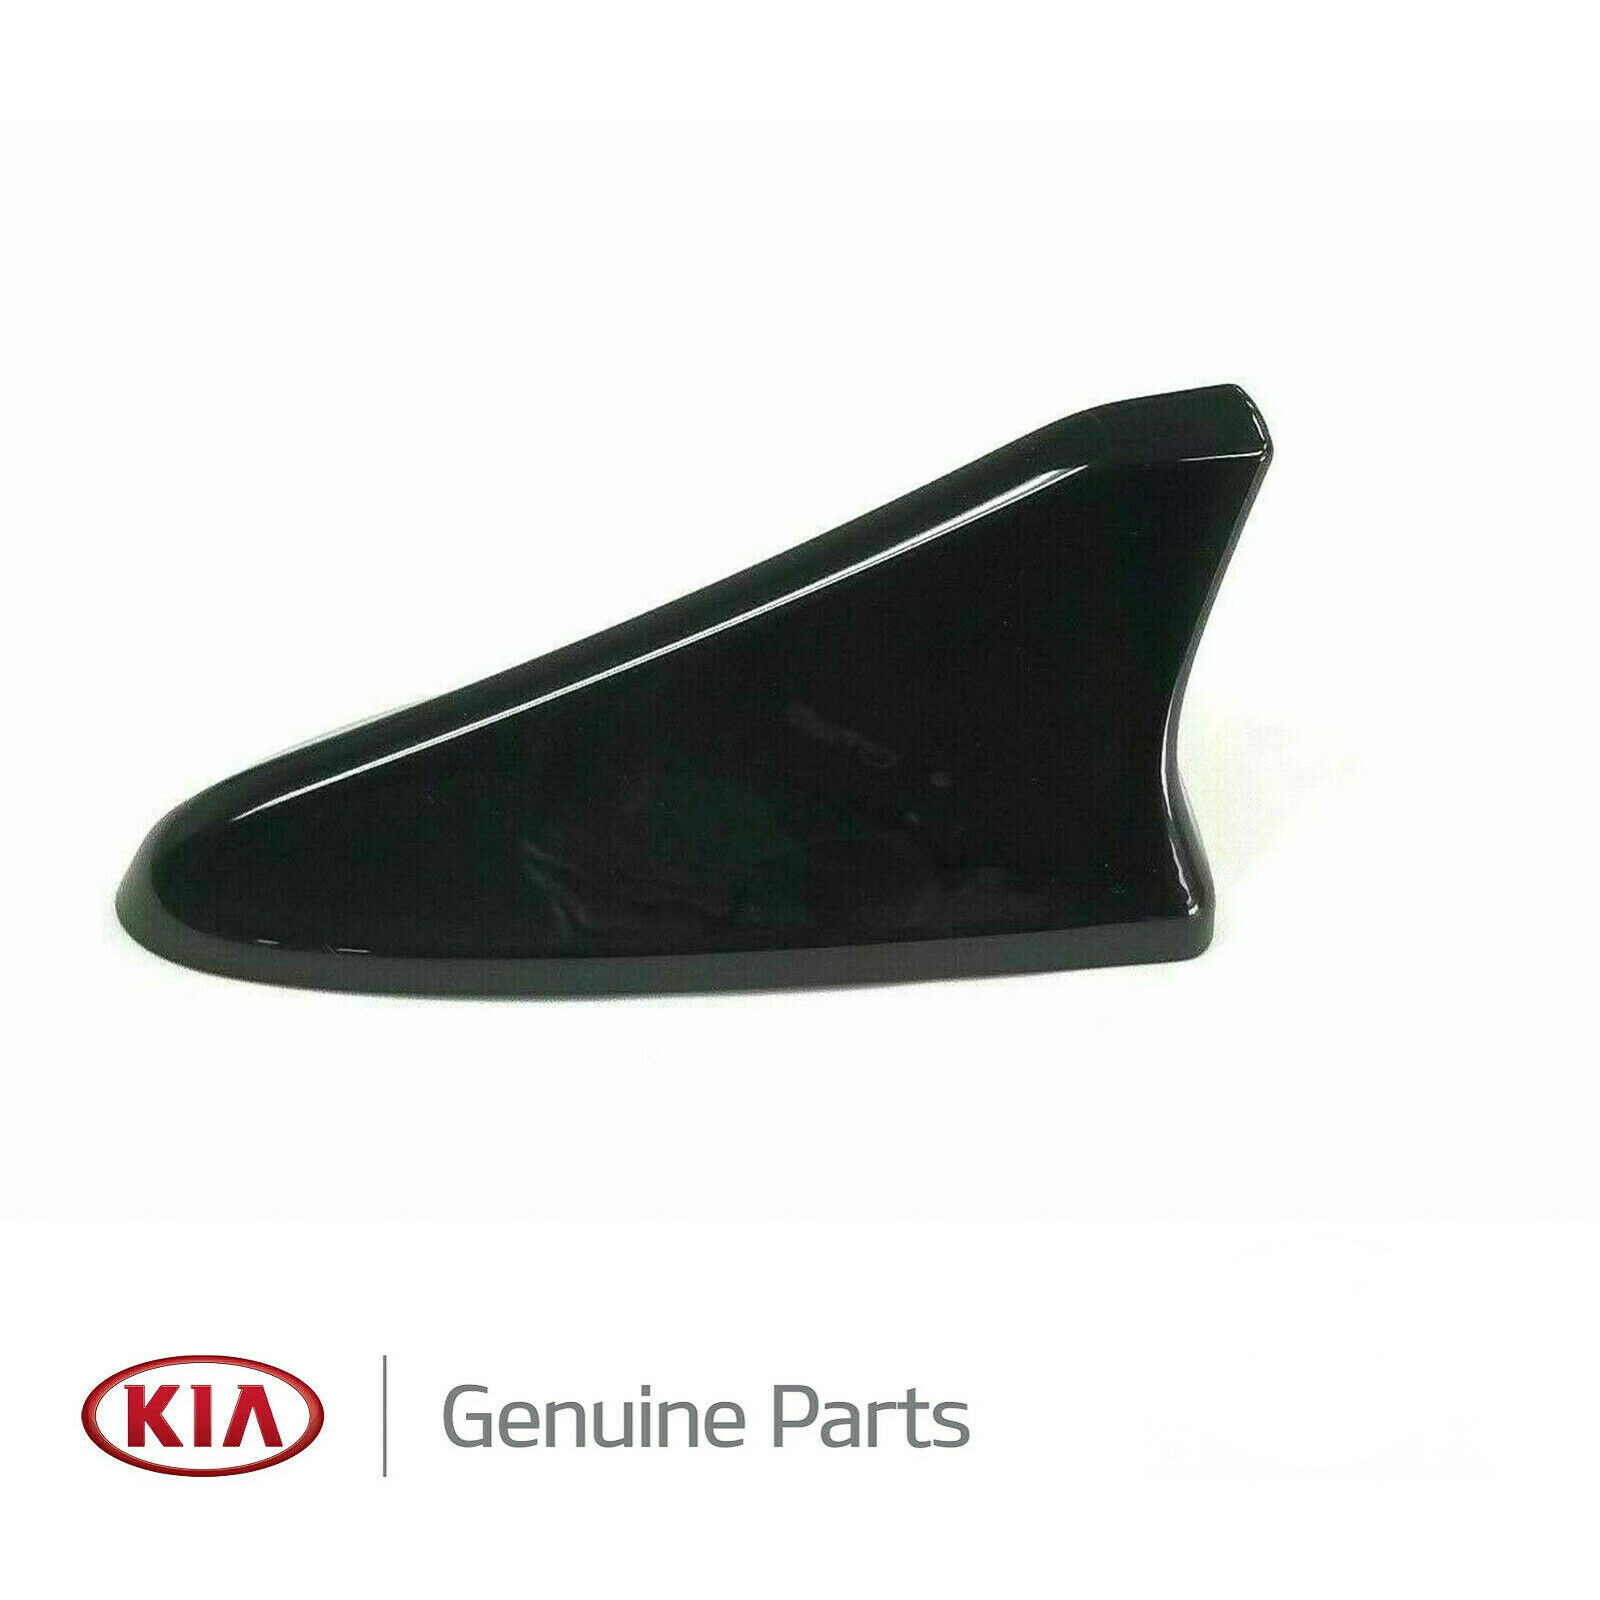
Genuine 2014-2020 Optima Sonata Ebony Black Code EB Shark Fin Roof Antenna Cover
$ 263.99
- Description
- Size Guide
Description
Genuine Kia Shark Fin Antenna Cover / Cover OnlyFactory Pre-painted in Ebony Black Color Code EB
Part number 96219-D50000EBQK
KIA
Optima
2014 through 2020 Without GPS
Hyundai
Sonata
2015 through 2019 Without GPS
Fits on:
Genesis Sedan G80 2015-2016-2017 Without Sunroof
Genesis Coupe 2013-2014-2015 Without GPS
Hyundai Elantra Sedan 2011 through 2016
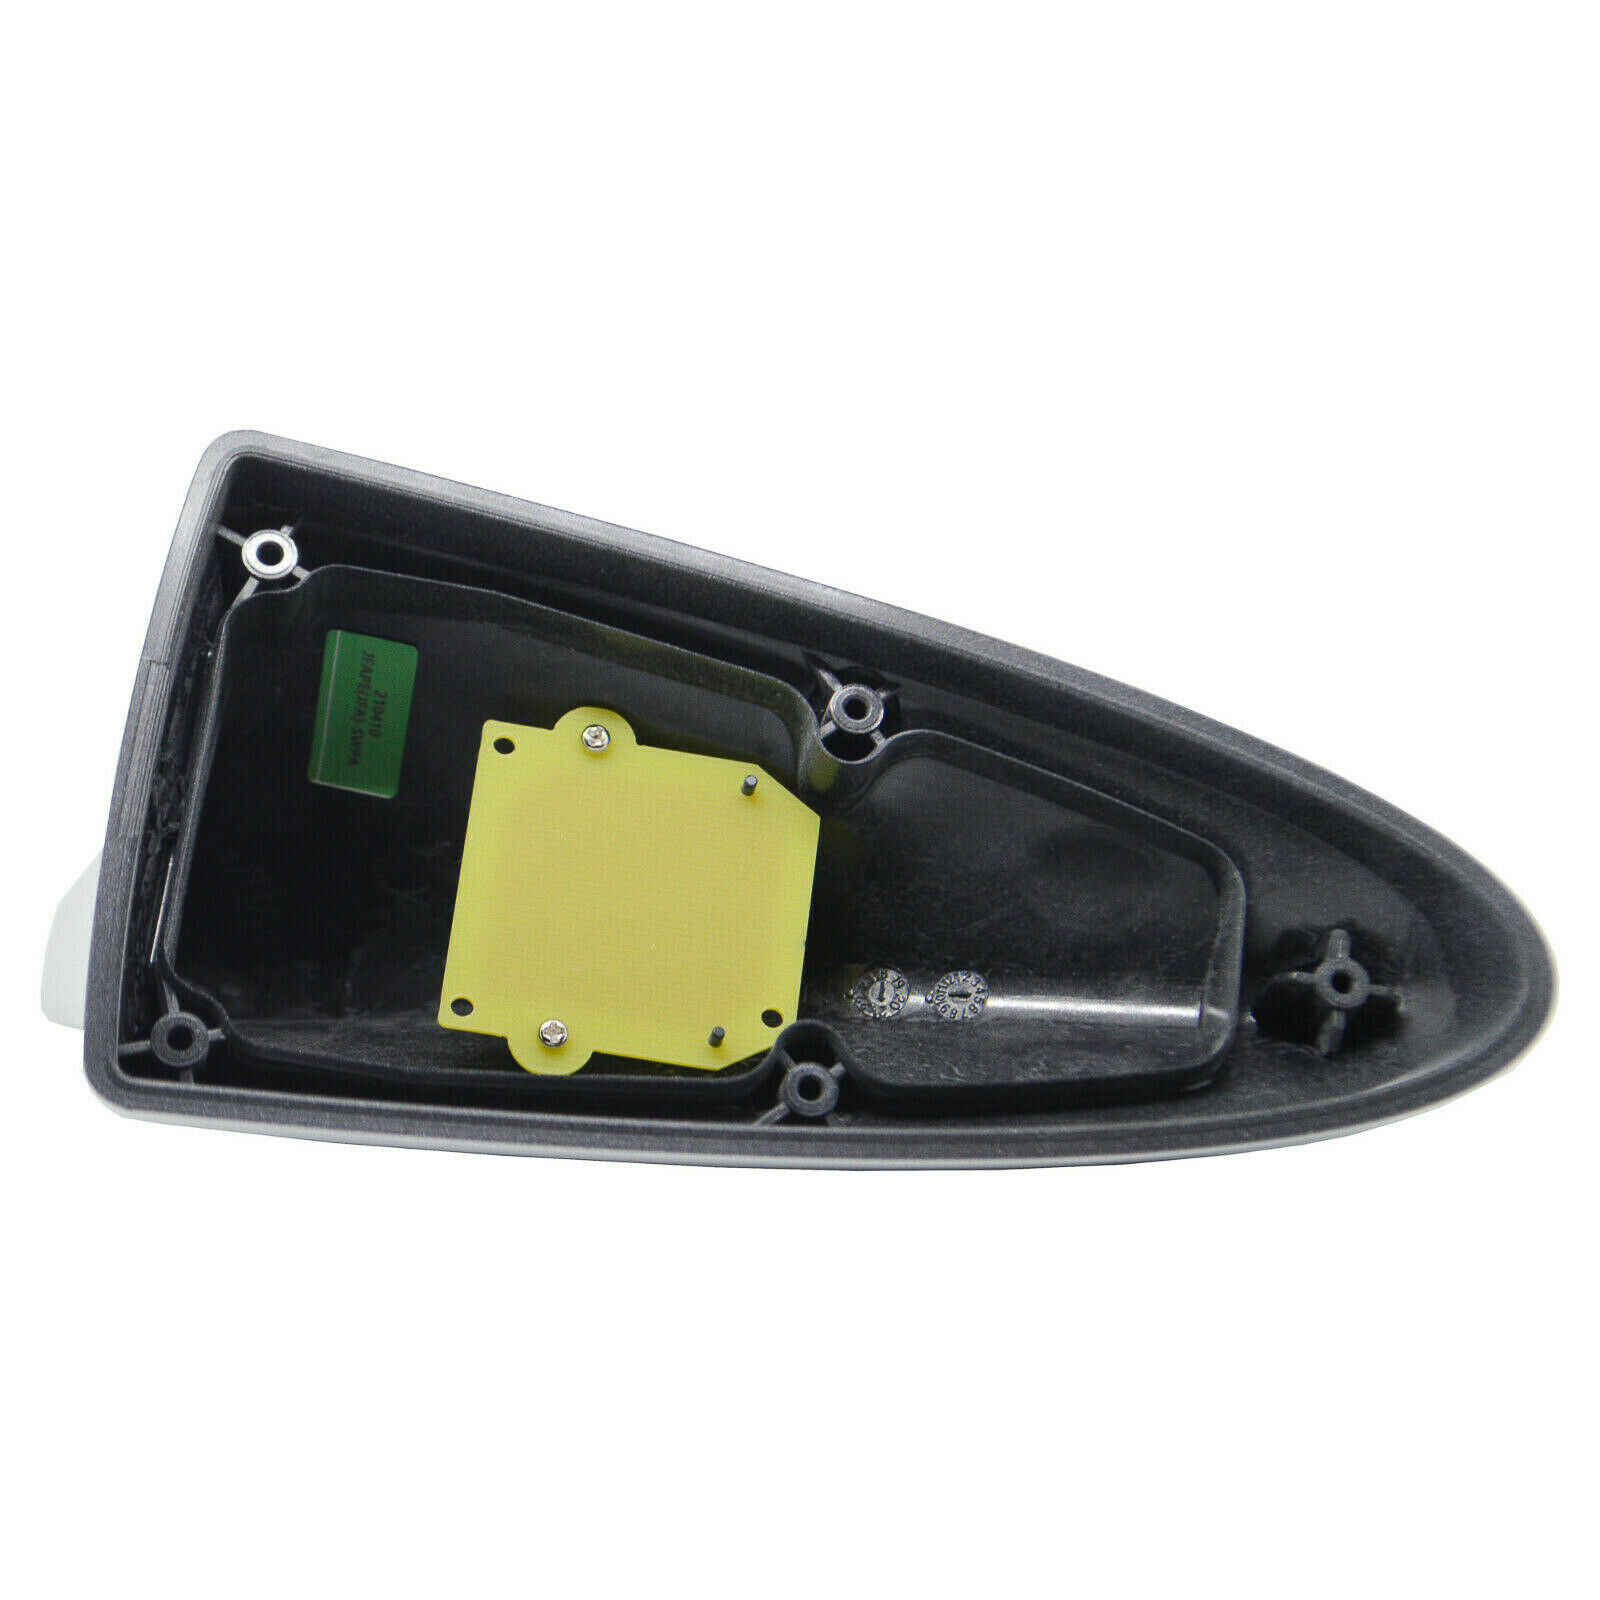
For antennas that doesn't have a green fin circuit board
Loctite 4090 Epoxy
or equivalent product is recommended to secure the antenna cover
Please check the following link to find out the installation instructions
https://www.tsbsearch.com/kia/ELE-170
***Part is in stock and will be shipped out the same or next day max ***
1. Carefully separate the antenna cap from the base when broken or loose. Note: If the antenna cover is missing, confirm proper antenna operation. If antenna is operating properly, proceed to step 2.
2. Remove any remaining plastic remnants from the screws at the antenna base and then using regulated shop air, gently blow and clean the rubber padding of the base.
3. Using the adhesive kit provided to your dealer, apply a small amount of adhesive over the five screws at the antenna base, enough to cover the screw holes.
4. Apply a continuous line of adhesive onto the antenna cap channel as outlined in photo, to ensure proper sealing. Do not use too much silicone epoxy or the material may squeeze out during the cover installation.
5. Carefully align and place the antenna cap over the antenna base. Firmly hold the cap onto the base for fifteen (15) seconds.
6. Wipe off any excess adhesive and ensure the antenna and surrounding areas are clean.
7. Remove adhesive tip and discard. Replace the original adhesive cap back onto adhesive tube for future use. Store the tube in a sealed zip-lock bag or container.
8. Verify proper operation of the radio.


